
Concrete Joint Guide for Bakersfield Projects
November 4, 2026
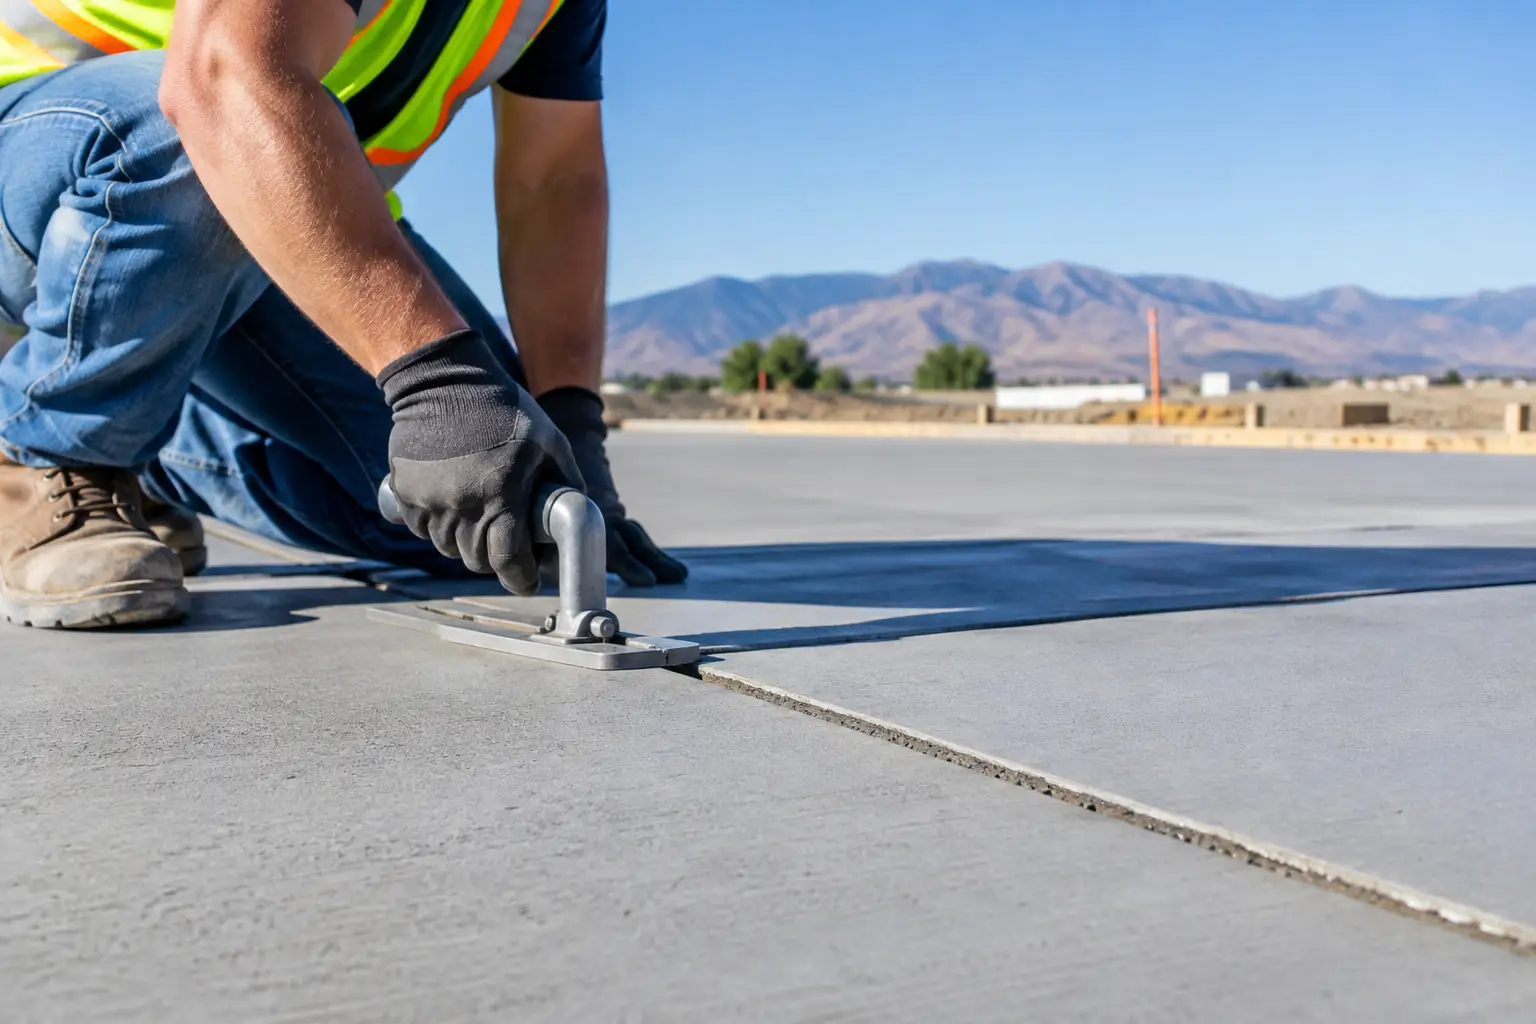
A new driveway or patio can look flawless on pour day, then develop a crack that seems to appear overnight. In most cases, concrete did not fail because it cracked. It cracked because concrete naturally shrinks, expands, and responds to movement – and the slab was not given a planned place to do it. This concrete joint guide explains how professional joint layout protects the appearance and performance of residential and commercial flatwork in Bakersfield.
Joints are not an optional finishing detail. They are part of the slab design. The right joint type, spacing, depth, and timing can help direct normal cracking into clean, controlled lines rather than across the middle of a driveway, pool deck, sidewalk, or patio.
Why Concrete Joints Matter in Bakersfield
Concrete begins changing as soon as it is placed. As excess water leaves the mix, the slab shrinks. Daily temperature swings can also cause the concrete to expand and contract. Bakersfield’s dry heat can speed surface moisture loss, especially on broad, sun-exposed driveways and patios.
At the same time, a slab responds to what happens below it. Soil movement, uneven compaction, tree roots, moisture changes, and traffic loads can all create stress. A properly prepared base is the first line of defense, but joints give the slab a practical way to relieve stress after the pour.
No joint plan can promise a crack-free slab. Concrete cracks are a natural material behavior. The goal is control: create intentional weak planes where cracking is expected, keep panels reasonably shaped, and separate the slab from fixed objects that could restrain movement.
The Main Types of Concrete Joints
The term “joint” covers several different details. Knowing the difference helps property owners understand what they are seeing in a proposal and why it matters to the finished project.
Control Joints
Control joints, also called contraction joints, are the most common joints in driveways, patios, sidewalks, and slabs. They create a planned line of weakness so the concrete is more likely to crack beneath that line instead of randomly across the surface.
These joints may be tooled into fresh concrete or saw cut after finishing. Either method can work when performed correctly. The right choice depends on the slab design, finish, weather, crew timing, and the appearance the project calls for.
A control joint should typically be cut or formed to about one-quarter of the slab thickness. For a 4-inch residential slab, that generally means a joint depth of about 1 inch. Shallow grooves may look like joints, but they may not control cracking effectively.
Expansion Joints
Expansion joints separate concrete from another fixed surface or adjacent slab. They are commonly installed where a driveway meets a garage slab, along a foundation, at a patio-to-house connection, or where new concrete meets existing concrete.
This separation allows independent movement. Without it, a concrete slab can push against a wall, column, footing, or older slab as temperatures change or settlement occurs. Expansion material is often a compressible fiber or foam filler, selected for the project and exposure conditions.
Construction Joints
Construction joints occur where one concrete placement ends and another begins. On a large commercial pour, a crew may need to stop at a planned location and continue later. On residential work, they can occur where a project is poured in phases or where a new section ties into an existing layout.
These joints need deliberate placement. A construction joint should fit the overall panel layout rather than land in an awkward spot that creates a narrow strip of concrete or an obvious weak point.
Isolation Joints
Isolation joints separate a slab from vertical elements such as columns, walls, light pole bases, planters, or other structures. They prevent the slab from bonding tightly to something that moves differently or carries a different load.
Isolation is especially useful around features that interrupt a patio or commercial walk area. If concrete is forced to wrap tightly around a fixed object, cracks often radiate from the inside corners.
Concrete Joint Guide: Spacing and Layout Basics
Joint layout should be decided before concrete arrives, not improvised after the slab is being finished. For many standard slabs, control joint spacing is often based on slab thickness in feet. A common rule of thumb is spacing joints at roughly two to three times the slab thickness in inches. A 4-inch slab, for example, often uses joints spaced around 8 to 12 feet apart.
That is a starting point, not a substitute for a project-specific plan. Thicker slabs, heavy vehicle loads, unusual shapes, decorative patterns, reinforcement details, and site conditions can change the approach. Driveways that carry RVs, work trucks, or frequent deliveries may need a different design than a backyard walkway.
Panel shape matters just as much as spacing. Square or nearly square panels perform better than long, narrow rectangles. As a general practice, the length of a panel should not greatly exceed its width. A narrow strip beside a house, a curved planting bed, or an angled driveway may require a more thoughtful layout to avoid random cracking.
Re-entrant corners deserve special attention. These are inside corners created by L-shaped patios, steps, utility pads, garage returns, and similar features. Concrete commonly cracks from these corners because stress concentrates there. A control joint placed thoughtfully from the corner can help manage that risk.
For decorative concrete, joints should complement the visual plan whenever possible. On a stamped patio, a well-designed joint layout can follow border lines, score lines, or pattern transitions. The goal is not to hide every joint. It is to make necessary joints look intentional while protecting the slab.
Timing Makes a Real Difference
Even a good layout can underperform if joints are installed too late. Fresh concrete starts shrinking early. If saw cuts are delayed until the slab has already developed internal stress, cracking may occur before the joint is deep enough to guide it.
Early-entry saws allow contractors to cut control joints sooner, often while the concrete is still relatively green. Conventional saw cutting may happen later after the slab gains more strength. Both approaches require experience because cutting too soon can damage the joint edges, while cutting too late can miss the window for effective crack control.
Hot, dry, or windy Bakersfield conditions can narrow that window. This is one reason experienced local concrete crews pay close attention to placement timing, finishing conditions, curing, and joint cutting. The pour is not finished when the surface looks smooth. Protecting the slab during its first hours and days is part of quality workmanship.
Joints Are Not a Fix for Poor Preparation
A joint plan works alongside proper site preparation. It cannot correct unstable subgrade, inadequate base material, poor drainage, undersized slab thickness, or weak concrete for the intended use.
Before pouring a new driveway, patio, or commercial slab, the site should be evaluated for grade, drainage direction, soil condition, and the loads the concrete will carry. Water should move away from structures and avoid collecting beneath or alongside the slab. For a driveway, thickness and reinforcement decisions should reflect the vehicles that will actually use it, not just the lowest possible installation cost.
Reinforcement also has limits. Rebar or wire reinforcement can help hold cracked sections together and improve slab behavior, but it does not eliminate the need for control joints. A reinforced slab still shrinks, moves, and needs planned relief points.
What to Ask Before Your Concrete Is Poured
A reliable contractor should be able to explain the joint plan in plain language. Ask where control joints will be placed, whether they will be tooled or saw cut, how deep they will be, and how the layout will work around corners, drains, steps, and existing concrete.
For a driveway, ask how the garage connection and street or sidewalk transitions will be handled. For a patio, ask how joints will align with the home, outdoor kitchen, fire feature, pool coping, or stamped pattern. For commercial work, confirm that joint placement, slab thickness, base preparation, and reinforcement match the intended use and applicable plans.
It is also reasonable to ask about curing. Proper curing supports strength, surface durability, and long-term performance. The best answer may vary by weather, mix design, finish, and project type, but it should never be treated as an afterthought.
A Better-Looking Slab Starts With a Better Plan
Concrete joints may not be the most exciting part of a new driveway or patio, but they often separate a professional installation from a surface that quickly looks unfinished. The right layout respects how concrete behaves, protects key areas from uncontrolled cracking, and keeps the finished design clean.
Whether your project is a simple walkway or a custom stamped patio, take a moment to review the joint plan before the pour begins. That small conversation can help your concrete look intentional long after the crew has packed up.